


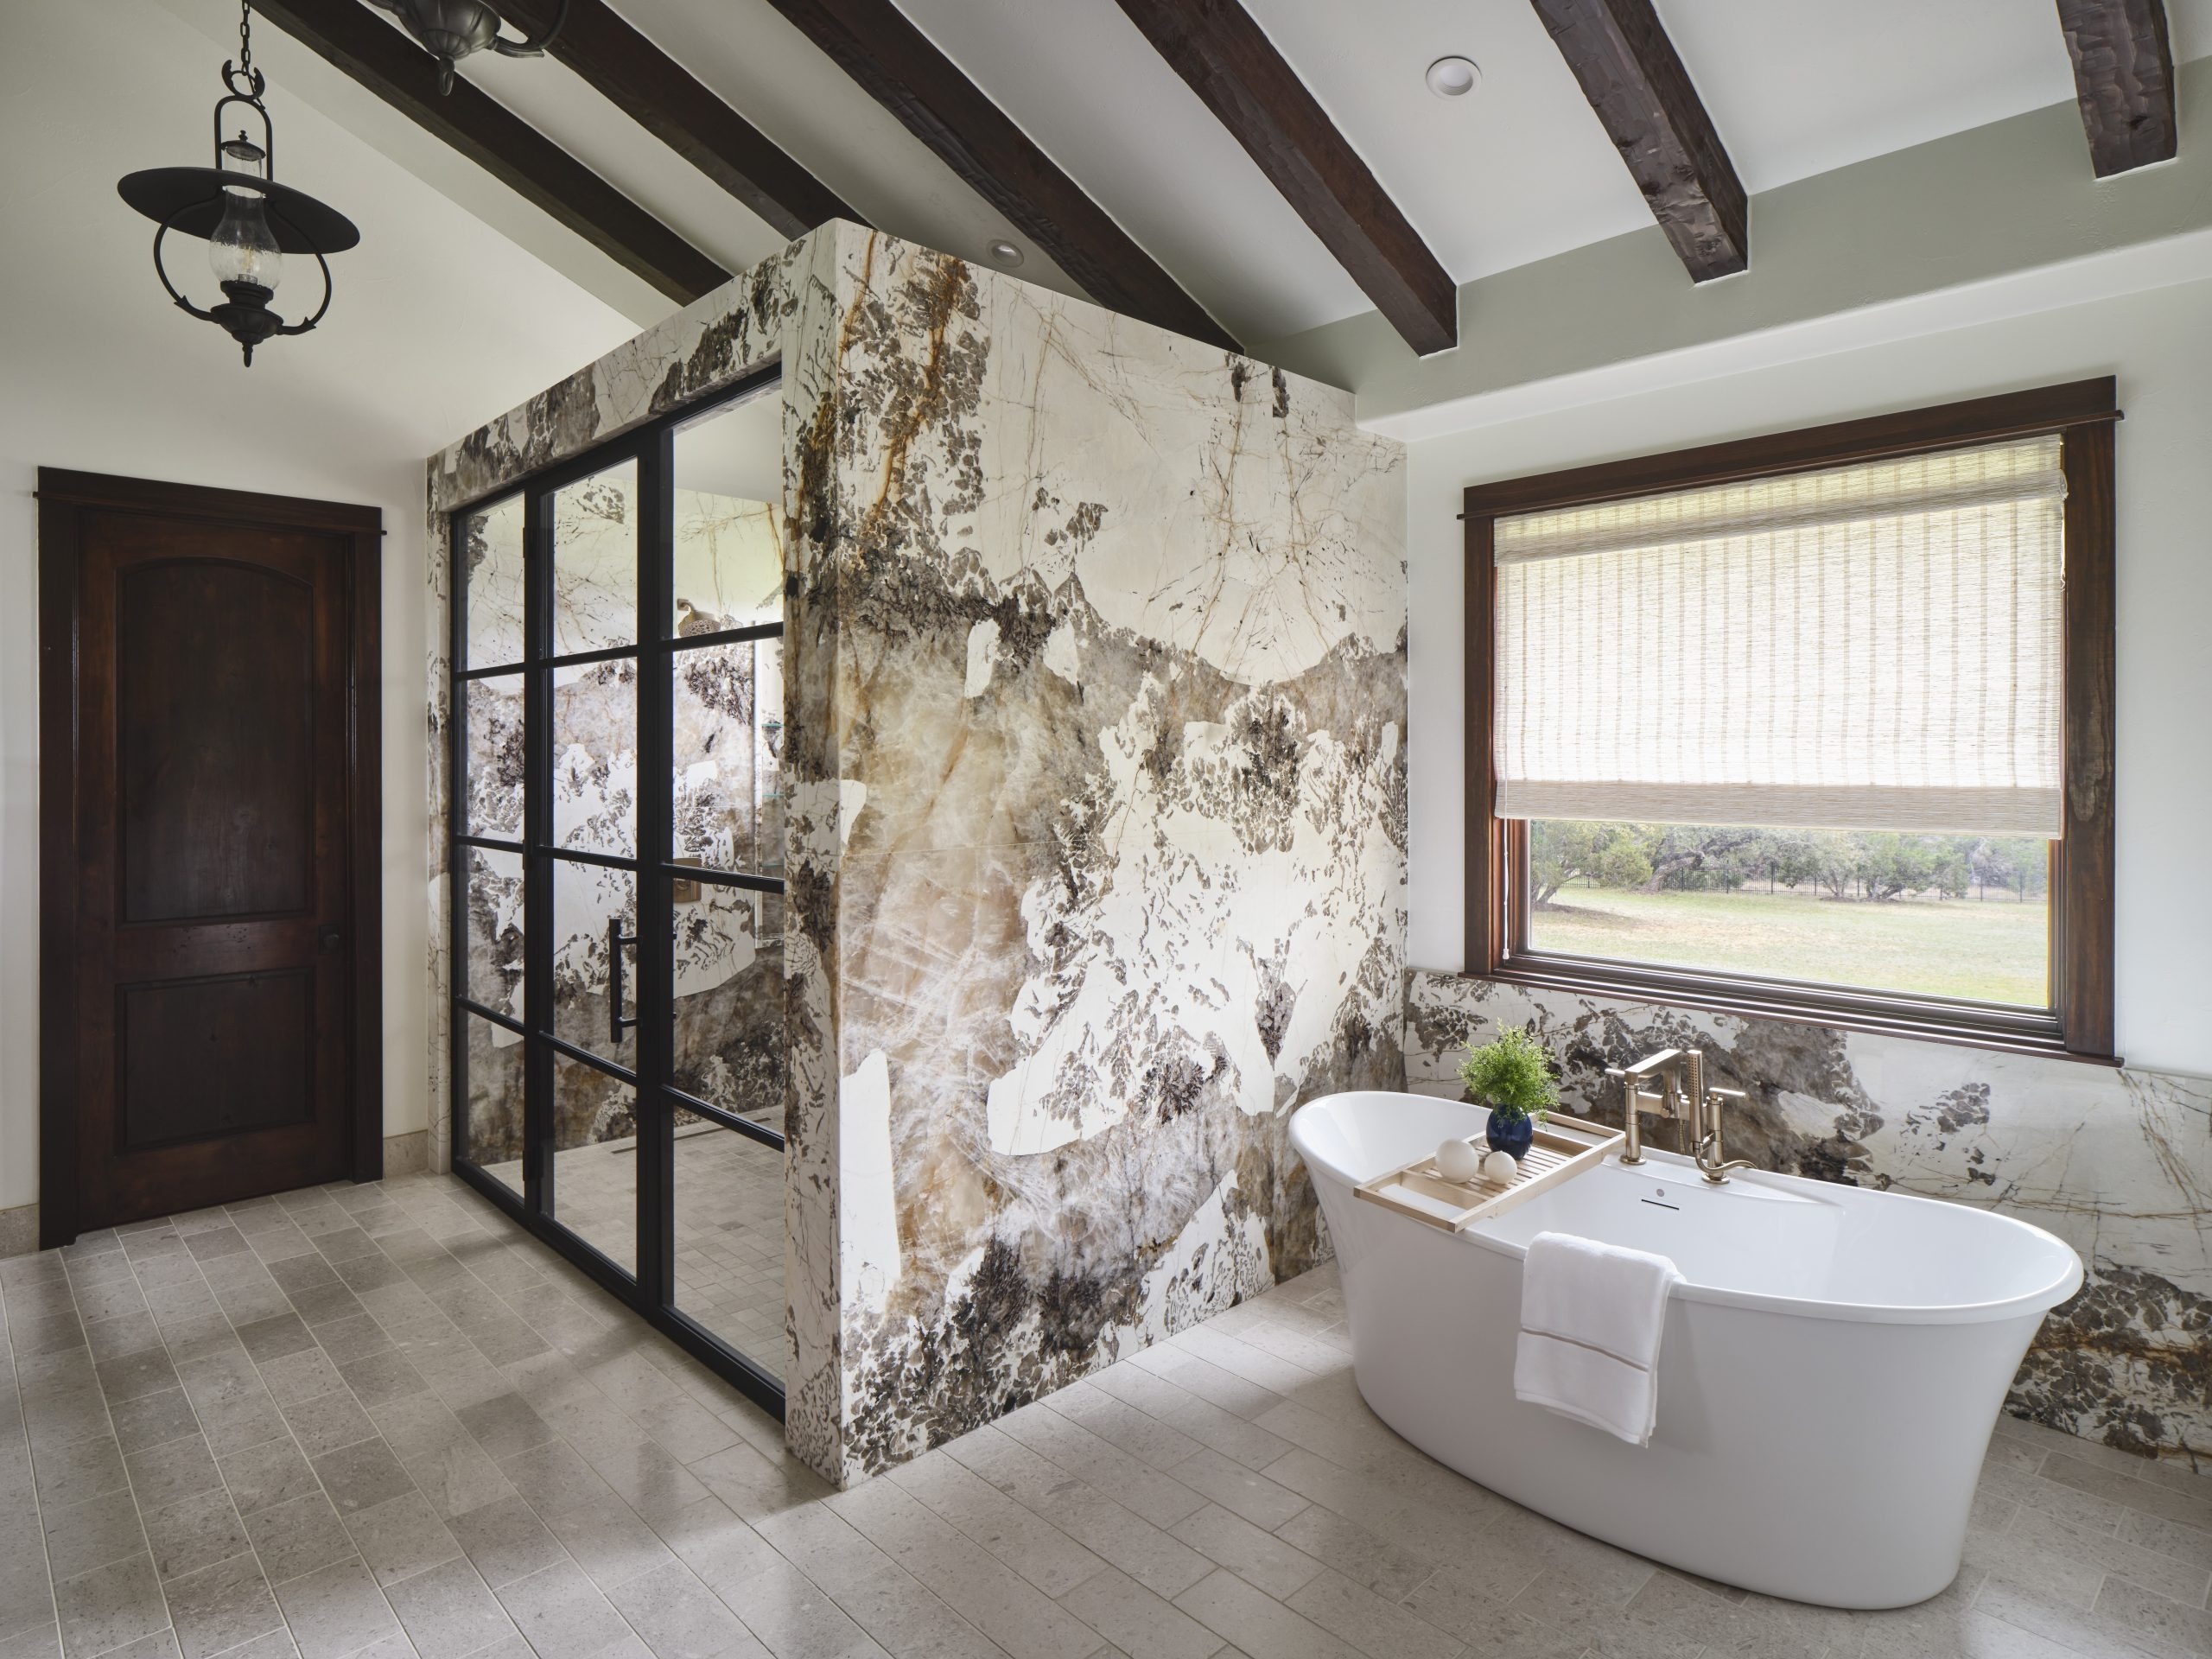
Planning a bathroom remodel is exciting—but knowing what happens during the tile installation process can make a big difference in how smoothly your project goes. Whether you’re upgrading outdated flooring, installing a custom shower, or redesigning your entire space, understanding each phase helps you prepare your home and set realistic expectations.
At All Pro Floors, we guide Arlington homeowners through every step of bathroom tile installation, ensuring quality workmanship and a stress-free experience from start to finish.
Why Bathroom Tile Installation Matters
Bathroom tile isn’t just about appearance—it plays a critical role in protecting your home from moisture, improving durability, and increasing long-term value.
In Arlington and across the Dallas–Fort Worth area, bathrooms see heavy daily use. That means your tile needs to:
Handle constant moisture and humidity
Resist stains, mold, and mildew
Stand up to foot traffic and cleaning products
A properly installed tile system ensures your bathroom performs as well as it looks.
Step 1: Initial Consultation and Design Planning
Every successful bathroom tile installation starts with a clear plan.
During this phase, you’ll work with a professional to:
Choose between ceramic tile, porcelain tile, or natural stone tile
Select colors, patterns, and layout styles
Coordinate tile with countertops, vanities, and fixtures
Define the scope of the project (floors, shower walls, backsplashes)
This is also when measurements are taken and material quantities are calculated.
For Arlington homeowners, this step often includes planning for long-term durability and selecting materials that perform well in Texas humidity.
Step 2: Preparing Your Bathroom for Installation
Before installation begins, your bathroom needs to be properly prepared.
What Homeowners Should Do
Remove personal items and clear countertops
Empty cabinets and storage areas
Plan for limited bathroom access during the project
What the Installation Team Handles
Protecting surrounding areas from dust and debris
Removing old flooring or existing tile
Inspecting the subfloor or wall structure
Proper preparation ensures a clean, efficient installation process and helps prevent delays.
Step 3: Subfloor and Surface Preparation
This is one of the most important steps in the entire process—and one that homeowners often don’t see.
Installers will:
Repair or level the subfloor
Install a cement backer board or waterproof membrane
Ensure surfaces are stable and moisture-resistant
In showers and wet areas, waterproofing is critical. Skipping or rushing this step can lead to long-term issues like leaks or mold.
Step 4: Tile Layout and Planning
Before setting any tile, the layout is carefully planned.
This includes:
Dry-fitting tiles to ensure proper spacing
Adjusting layout for symmetry and clean edges
Planning grout lines and transitions
A well-planned layout ensures your finished bathroom looks balanced and professional—not uneven or rushed.
Step 5: Tile Installation
Once everything is prepped and planned, the actual tile installation begins.
What Happens During Installation
Adhesive (thin-set mortar) is applied
Tiles are placed according to the layout
Spacers are used to maintain consistent grout lines
Depending on the size of your bathroom and the complexity of the design, this step can take 1–3 days.
Custom features like shower niches, accent walls, or intricate patterns may extend the timeline.
Step 6: Grouting and Sealing
After the tile is set and has time to cure, grout is applied between the tiles.
Grouting Process
Grout is spread and packed into joints
Excess grout is cleaned from the tile surface
Grout lines are smoothed and finished
For certain materials, sealing may be required to protect against moisture and stains.
Regular tile and grout cleaning after installation will help maintain your bathroom’s appearance and longevity.
Step 7: Final Inspection and Cleanup
Once installation is complete, the final step ensures everything meets quality standards.
This includes:
Inspecting tile alignment and grout consistency
Cleaning all surfaces
Reviewing the finished project with you
At this stage, your bathroom is ready to use—though some materials may require a short curing period before full use.
How Long Does Bathroom Tile Installation Take?
Timelines can vary depending on the size and complexity of your project.
Typical Timeline for Arlington Homes
Small bathroom: 3–5 days
Standard bathroom remodel: 5–7 days
Custom showers or large spaces: 1–2 weeks
Factors that can affect timing include:
Material selection (porcelain vs natural stone)
Custom layouts or patterns
Structural repairs or subfloor issues
Working with an experienced team helps keep your project on schedule and avoids unnecessary delays.
Tips to Prepare for a Smooth Installation
A little preparation can make your bathroom tile installation much easier.
Before the Project Starts
Confirm material selections and delivery timelines
Discuss access to your home with your contractor
Plan alternative bathroom arrangements if needed
During Installation
Keep pets and children away from the work area
Communicate any questions or concerns early
Expect some noise and dust during demolition and installation
Being prepared helps reduce stress and keeps your project moving forward efficiently.
Integrating Tile with Your Full Bathroom Remodel
Bathroom tile installation is often part of a larger remodeling project. Coordinating your tile with other elements can improve both function and design.
Consider how your tile works with:
Shower design and layout
Countertops and vanities
Flooring transitions
Lighting and fixtures
At All Pro Floors, we help Arlington homeowners bring all these elements together for a cohesive, high-quality result.
What You Can Expect from Your Project
Bathroom tile installation is a detailed process, but when done correctly, it delivers long-lasting durability and a major visual upgrade to your home.
From preparation and layout to installation and finishing touches, each step plays a role in the final outcome. Knowing what to expect helps you stay informed and confident throughout your remodel.
Start Your Bathroom Tile Installation in Arlington, TX
If you’re planning a bathroom upgrade in Arlington, Southlake, or anywhere in the Dallas–Fort Worth area, All Pro Floors is here to help.
Our team provides expert guidance, professional installation, and high-quality materials to ensure your bathroom tile project is built to last.
Visit our Arlington showroom, schedule a consultation, or request a free in-home estimate today to get started.